A few months ago I started looking into the feasibility of enhancing HTML documents for VR using CSS. The idea of the experiment was to demonstrate how easy it could be for developers to create VR experiences using web standards, if browsers implemented stereoscopic DOM rendering and supported VR media queries.
The CSSVR prototype turned out much better than I'd hoped. It answered almost all of my questions and made me ask some new ones. There was, however, an issue with creating 3D content suitable for use in a rich VR experience. Aside from the mathmatical complexities and large resulting DOM trees, constructing 3D scenes and objects from rectangular HTML elements just isn't practical, and is all but useless for creating anything other than primitive shapes.
Unfortunately, unless you start building your experience in a framework like a-frame or use WebGL, there's no other way of creating 3D content because browsers have no idea how to deal with a 3D model. But what if browsers could display models natively? How would that work? Would CSSVR be more viable? Would having access to 3D models in more traditional web design be useful?
Since simulating native support for CSSVR was a success, I decided to try the same thing with 3D models. I spent some time thinking about what my ideal implementation would look like and concluded that, if 3D models were supported natively, they would have to behave just like any other HTML element, flowing with content, be styleable with CSS and — because we're dealing with 3D objects — any transform and perspective values would need to propagate up to the model.
There are a few projects around that provide the means to embed 3D models into a document, but they all seem to rely on <iframe> elements, which effectively sandbox the rendered model from other content — using <iframe> elements in this way was a no-go for me. Unfortunately, I couldn't find anything that fitted my requirements, so I had to create something myself.
The <x-model> element
My solution was to use a custom element to add models to the DOM. Unlike most custom elements, <x-model> doesn't generate any content. The element is simply a placeholder that provides access to the DOM and CSSOM. Loading and rendering of models is actually handled by three.js.
Adding a model to a document is as simple as:
<x-model src="path/to/model.glb"></x-model>Note: glTF (.gltf and .glb) and OBJ (.obj) model formats are currently supported.
When the first <x-model> element is added to the DOM, a THREE.WebGLRenderer is created and the resulting <canvas> is added to the document. The canvas is styled to cover the viewport and its pointer-events property is set to none, allowing underlying DOM nodes to receive events. A THREE.Scene is also created to host the objects and a light source is added to it.
To render a model, its position, dimensions and transform matrix are resolved by querying the CSSOM while walking down the DOM tree. The model is then placed in the scene using the resulting transform matrix and is rendered to the canvas in sync with the <x-model> element.
The scene is re-rendered every animation frame. If a <x-model> element has an active CSS animation or transition — or if JavaScript is used to modify the CSSOM — the model will automatically render in its new state when the next frame is painted. Here's an example of a model rotating around its Y axis using a CSS animation:
<style>
  x-model {
    animation: 5s spin linear infinite;
  }

  @keyframes spin {
    to {
      transform: rotateY(1turn);
    }
  }
</style>

<x-model src="cesium-milk-truck.glb"></x-model>Positioning the model in the correct place was only part of the challenge. To render an object correctly, the renderer must also apply any CSS perspective values and honour any clipping areas defined by elements further up the DOM tree.
In addition to resolving the transform matrix of the model, the camera projection matrix and renderer scissor area (the clipping bounds) must also calculated. As with model transform matrix, these values are calculated by walking up the DOM tree.
The object can now be rendered to the canvas using either a perspective camera (if an ancestor specified a perspective or perspective-origin) or an orthographic camera. With perspective accounted for, the object will now correctly match the original <x-model> element projection and will be clipped where appropriate.
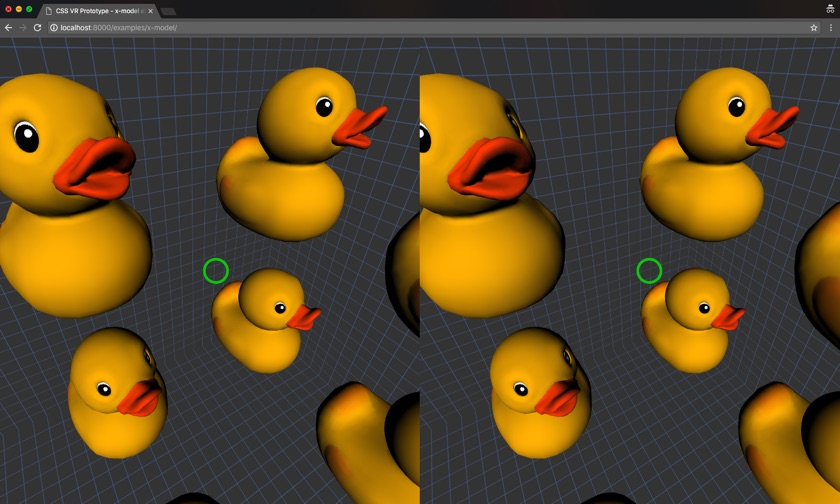
Here's an interactive demo of perspective in action:
For a more comprehensive example, please see the render test page.
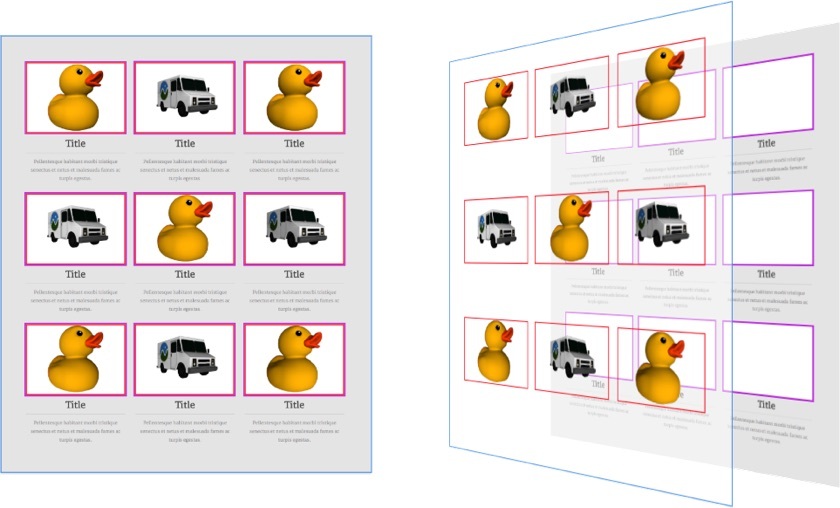
Adding models to the CSSVR prototype
Using models in my CSSVR project was a pretty trivial exercise, I just needed to drop in the <x-model> script and its dependencies and I was set. To make things a little easier, I opted to use JavaScript to create the models and position them in my VR "scene":
const createModelElement = (url, x=0, y=0, z=0) => {
  let model = document.createElement('x-model');
  model.setAttribute('src', url);
  model.style.transform = 'translate3d(${x}px, ${y}px, ${z}px)';
  return model;
}

let modelElem = createModelElement('model.glb', -100, -100, -100);

sceneElem.appendChild(modelElem);
Here's what the test scene of 26 ducks looks like:
For the purposes of this article I've been using small models to demonstrate how <x-model> behaves, but large models work just as well. Here's a screenshot of an entire single-object scene, called Sleepy Town, rendered in CSSVR.

Larger scenes present a lighting challenge. Currently, the <x-model> element uses a single light source to light the entire scene, which isn't very flexible. In the case of these larger scenes the default light isn't powerful enough so the output is very dark. To capture the screenshot above, I had to manually hack in some extra lights.
So lighting is the next thing to tackle — but that's a problem for another day.
In the meantime, if you'd like to experiment with <x-model>, you can find a full set of instructions in the github repo.
